Christmas is long behind us now; the decorations are put away (and if they're not, I'm not judging); gifts have been tested, tried out, put to use; which just leaves - the Christmas cards.
Beautiful miniature pieces of art that are sent to friends far and near, mostly to say, "Hey, I made it another year." (nice rhyme!) Some arrive with the overlong, "look what I did" Christmas Letter, that boast-filled epistle we all openly mock, even as we secretly wish our own humdrum lives were slightly more exciting. Though I did read two very funny, finding-the-humor-in-the-absurdities-of-life, letters from theater friends this past holiday season. Those letters are always a joy to receive.
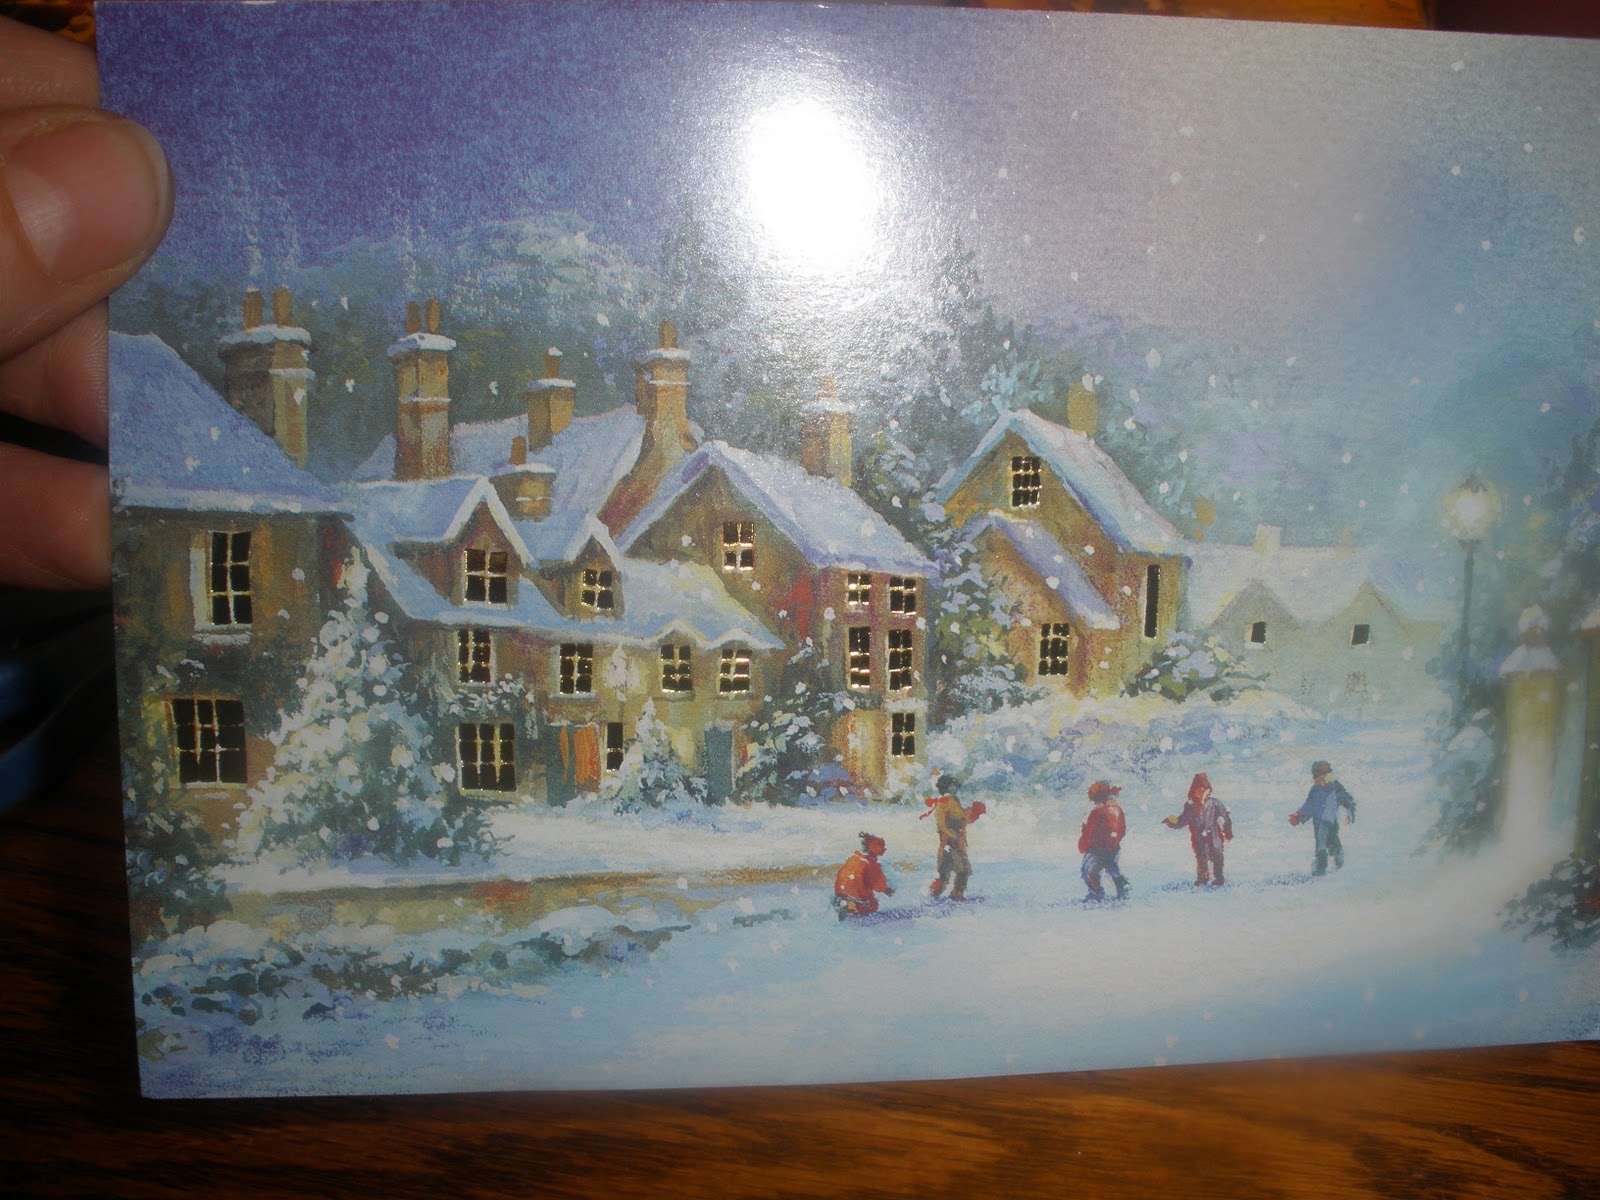
 |
| kids+snow=Christmas! |
So, what
do you do with old Christmas cards? They're wonderful inspirations for a variety of projects, as I was reminded last night by my friend LSA. Her facebook status about art projects created a lengthy commentary on Christmas card uses, which inspired my Saturday creation.
Many years ago, my Aunt Jeri taught me how to make a small box out of a Christmas card; it involves several folds and a few cuts, with the final object looking for all the world like a tiny wrapped present!
 |
| pretty packages |
I asked LSA, via facebook, if she did anything like this with her old cards; she wasn't aware of this particular use, and asked me for a pattern. Now, I haven't made one of these boxes for a few years, and had to work out the process all over again. But, muscle memory is a wonderful thing - it only took one botched attempt to get all the folds into the right shape.
 |
| oops |
And now - I do have a pattern! This is my first attempt at a tutorial blog; I'm really a hands-on type of instructor, showing the process as I explain the steps. I took photos of every step, so I'm hoping a combination of written instructions and visual cues will make this an easy-to-follow project.
 |
| grid paper to the rescue! |
Christmas cards come in a variety of sizes, but almost all of them are rectangular. You may notice that my pattern is square; you'd be correct. I made a 5"x 5" square, but you can adjust the size to fit the pictures on the front of the cards. Just remember, it's hip to be square.
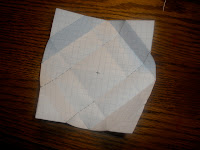
The first step is to cut the front of the card into a square (just like the first photo, the wreath card); the lightly sketched lines on the pattern are the fold lines, the dotted lines are the cut lines, and there is a dot marking the center of the square. These markings would be on the wrong side of the card; you don't need to draw all of these lines on your card; I put them on the grid paper as a guide. You
do need to mark the center point of the square on the wrong side.
Step 2: Fold the four corners to the center point of the card, so that all four corners meet. The card should be face-down. Smooth the folds with your fingers or a
bone folder.
 |
| where corners meet |
Step 3: Fold two opposite sides toward the center, so that the fold edges meet. Smooth the fold edges. Open these folds up, turn the card 90 degrees, and repeat with the other two opposite sides. Again, smooth the fold edges. Open these folds back up, as well. There should be four intersecting fold lines halfway between the center and each first fold edge.
 |
| more folds |
Step 4: Open all of the folds, so that you're back to the original square size. Cut along four of the folds, as marked on the pattern by dotted lines. Be very careful not to cut too deep! Note: If you've made origami boxes out of thin paper, you don't need to cut the paper, but card stock is much thicker and needs to be cut for the next step. The four cuts should be on opposite corners; this creates tabs that the corners will fold over.
 |
| cuts made oh-so-carefully |
 |
| we're almost done! |
Step 5: Fold the uncut corners back into the center, then bring long edges up at a 90 degree angle, to create two of the sides. Fold the cut tabs in as if to form the other two sides, overlapping two tabs on each side; then fold the two remaining corners over the tabs, matching all four corners in the center once again. And you should have a square, open box!
 |
| step 5, part 2... |
 |
| step 5, part 1... |
 |
| step 5, part 3! |
Step 6: because the cardstock is heavy and stiff, you'll want to put a small piece of Scotch tape on the inside, holding the four corners in place.
 |
| it really is invisible tape! |
To make a bottom half for your box: use the other side of the card, and cut the starting square about 1/2" smaller on each side, so that the finished box will nest inside the first one. Again, this is different from origami boxes - the cardstock creates more thickness on the inside of the box, so the nesting box needs to be smaller. I decided to use the card message as the outside of the bottom box.

You could also use another card as the bottom, for design contrast. But for Pete's sake, make sure the colors don't clash! Oh, yeah, Christmas cards - a lot of green, red and gold. Never mind.
If you haven't thrown out your cards yet, this is an easy, inexpensive (like, free) way to decorate come next Christmas: attach a pretty ribbon to each box and hang them on the tree; string the boxes together to make a crazy colorful 3D garland; make an Advent calendar with 24 boxes and put a little treat inside each one (the average household receives 28 Christmas/holiday cards, that's more than enough!)
There's only three hundred and thirtysome days until next Christmas - better get folding!


No comments:
Post a Comment